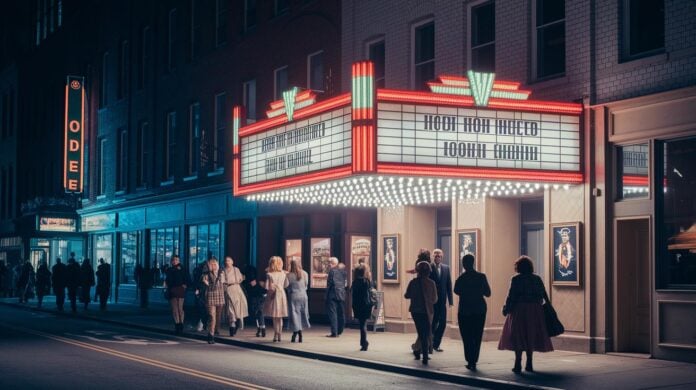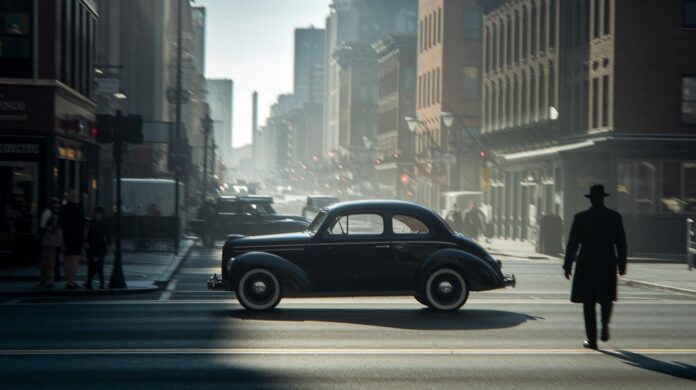

Ever notice how older films still feel so genuine? They often rely on natural light, manual focus, and smooth camera moves to build a classic look that modern digital tools might miss. This blend of soft hues and gentle textures brings a timeless charm, echoing the spirit of early filmmaking. In our era of quick digital fixes, these vintage techniques remind us that true artistry comes from making every frame count. Dive in to see how classic vibes are crafted, shot by shot.
Exploring Vintage Cinematography Techniques in Retro Reels
Old film techniques have a charm that digital tools often miss. The feel of real film, with its natural flaws and little details, gives it a genuine vibe that many viewers love. It is more than mere nostalgia. It honors the history and art of early filmmaking.
Classic film reels mix smart choices with creative details. Using analog methods means planning each shot carefully. Every scene, from natural light to soft colors, plays a key role in creating a timeless look. These techniques let filmmakers capture the spirit of past eras and offer modern viewers a glimpse of history.
- Footage foundation: Use soft colors and gentle tones captured in high-quality raw shots with natural light.
- Film grain and color grading: Lower saturation and boost warm colors like yellow, red, or orange.
- Aspect ratio choices: Crop the image to a 4:3 ratio or add black bars to mimic old film reels.
- Manual focus: Helps isolate the subject and gives a hands-on feel.
- Lens movement: Creates natural shifts and soft camera motions similar to vintage films.
- Texture overlays: Add scratches, dust, light leaks, and film burns to enhance the retro look.
All these elements work together to form a clear visual style that sets retro reels apart. Each technique, from choosing soft-lit footage to adding textures and vintage lens effects, blends to create an authentic film style. This mix of technical and creative choices gives classic film reels their unique charm and lasting appeal.
Camera Mechanics and Lens Choices in Retro Reels Cinematography
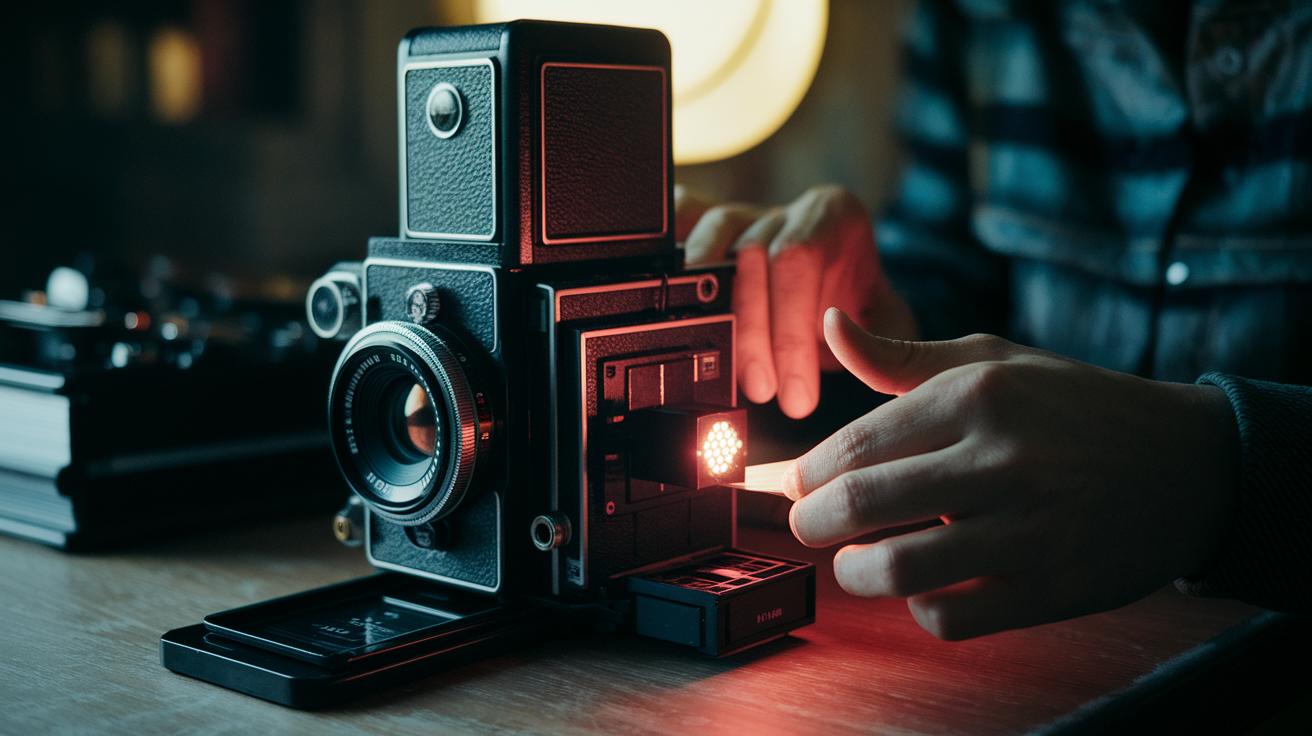
Manual camera work is at the heart of retro filmmaking. Filmmakers load their film in complete darkness and use mechanical shutters that feel very tangible. This method gives movies a raw look that digital cameras rarely duplicate. With only about 3 stops of dynamic range (limited ability to adjust light), every shot must be exposed just right.
Kodak Double X negative stock is well known for its grainy texture in classic films. Each roll demands a bit of patience and skill. The visible grain gives the film a unique charm, turning what might be considered flaws into a mark of authenticity.
Lens choices also play a key role in telling the story visually. Old lenses guide where you look and can set the pace of the film. Prime lenses capture details with neat clarity, while soft-focus lenses lend a dreamy, blurred feel. For more details on these choices, check out this cinema guide: https://reviewstrends.com?p=906.
| Lens Type | Description |
|---|---|
| Prime | Clean visuals with clear subject focus. |
| Wide-angle | Broad coverage with an expanded view. |
| Telephoto | Makes backgrounds appear closer for intimate framing. |
| Anamorphic | Creates unique flares with a wider cinematic feel. |
| Soft-focus | Gently blurs edges for a nostalgic mood. |
All these choices work together to create that timeless vibe found in retro films.
Lighting Setups and Exposure Techniques in Retro Reels Cinematography
Retro films often call for creative lighting solutions. Filmmakers tend to use natural window light, tungsten lamps, or even candlelight to create soft amber touches. With film stock that only allows about 3 stops of dynamic range, careful balancing of key and fill lights becomes essential. This limitation builds a raw and intimate feel.
Using these old-school methods involves setting the meter by hand and opting for slow shutter speeds. This sometimes leads to a gentle motion blur or flicker that adds a unique character. High-contrast, low-fill lighting, similar to what you see in film noir, brings a dramatic punch. Chemical sepia toning then warms the picture, giving it a nostalgic glow.
| Lighting Setup | Exposure Technique | Characteristic |
|---|---|---|
| Natural Window Light | Manual Metering | Soft, ambient highlights |
| Tungsten Lamps | Slow Shutter | Subtle motion blur |
| Candlelight | High-Contrast, Low Fill | Warm, dramatic tones |
These timeless techniques blend together to form a textured, emotionally rich experience in retro films. Careful use of vintage lighting, deliberate exposure adjustments, and touches like sepia toning all come together to define the look of old-school cinematography. Each method needs precise calibration to work around the film’s narrow exposure range while achieving a distinct, nostalgic style.
Film Grain, Texture, and Color Grading Breakdown for Retro Reels
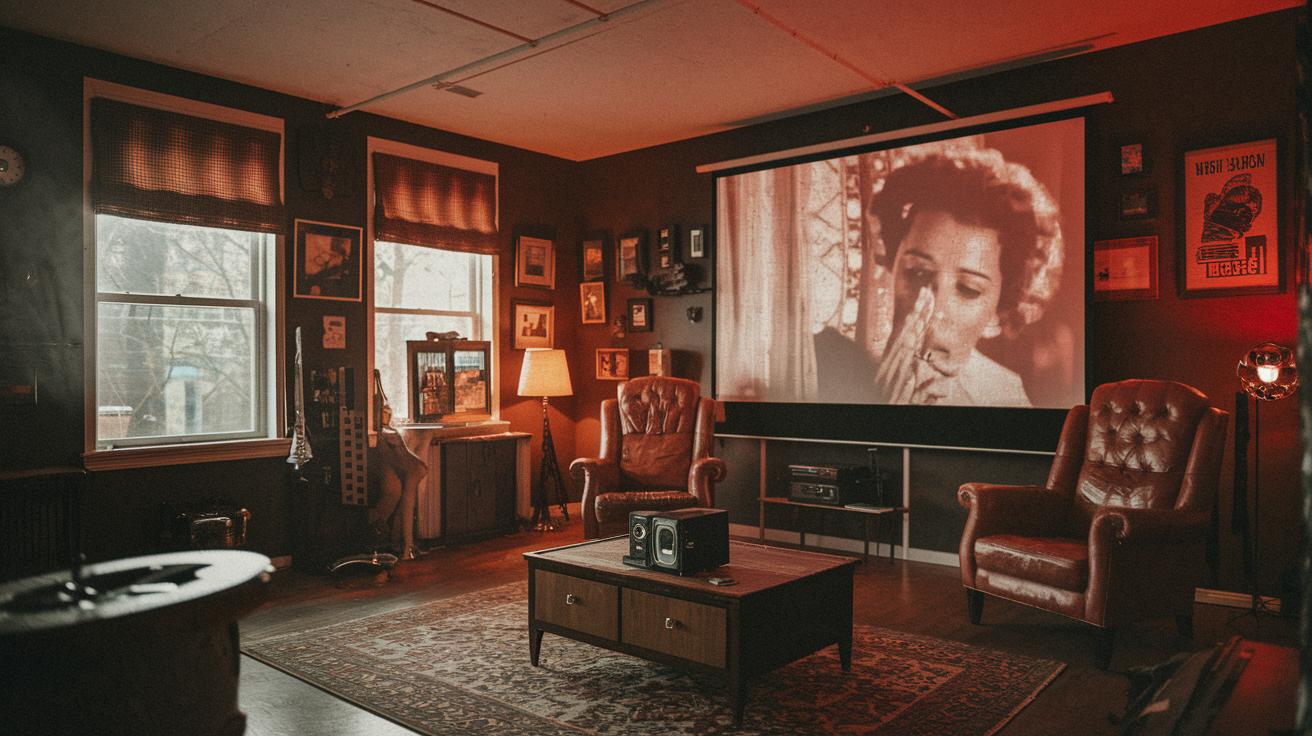
This section digs deeper into the film grain, texture overlays, and color tweaks that give vintage films their unique feel. Classic film stocks like Kodak Double X naturally produce a heavy grain that recalls the 80s VHS style, adding a real, tactile vibe to every shot.
Filmmakers often add scratches, dust, and film burns on purpose. These details help each frame feel like it carries its own history. For example, try sprinkling subtle marks across the scene to boost its vintage charm.
Color grading sharpens the retro look even more. Lowering the saturation and warming the hues, like nudging the white balance toward reds and oranges, creates a sepia tone that feels like old chemical film. Imagine turning down the colors until each frame gently whispers of the past.
As a final touch, light leaks and burn transitions blend scenes smoothly. When used with careful texture overlays, these techniques enhance the nostalgic mood without overwhelming the story.
Aspect Ratios, Framing, and Transitions in Classic Film Reels Cinematography
Using the right aspect ratio can instantly give a film a retro vibe. For example, a 4:3 crop brings a nostalgic, TV-style look that makes you feel like you’ve stepped back in time. The classic Academy ratio of 1.37:1, on the other hand, adds a precise, old-school cinematic touch that reminds us of vintage movies.
Smart framing is key to creating that timeless feel. Centered shots with little camera movement form still, thoughtful pictures. This simple style draws your eye to every well-planned detail, helping to keep the retro charm intact.
Smooth scene changes also build the classic look. Techniques like iris in/out, wipes, and cross dissolves move the story along gently, much like the careful pacing found in old films.
| Technique | Effect |
|---|---|
| 4:3 crop | Brings a nostalgic TV look |
| Academy ratio (1.37:1) | Adds classic cinematic precision |
| Black bars for widescreen | Emulates traditional film reel style |
Step-by-Step Guide to Recreating Retro Reels Cinematography Effects
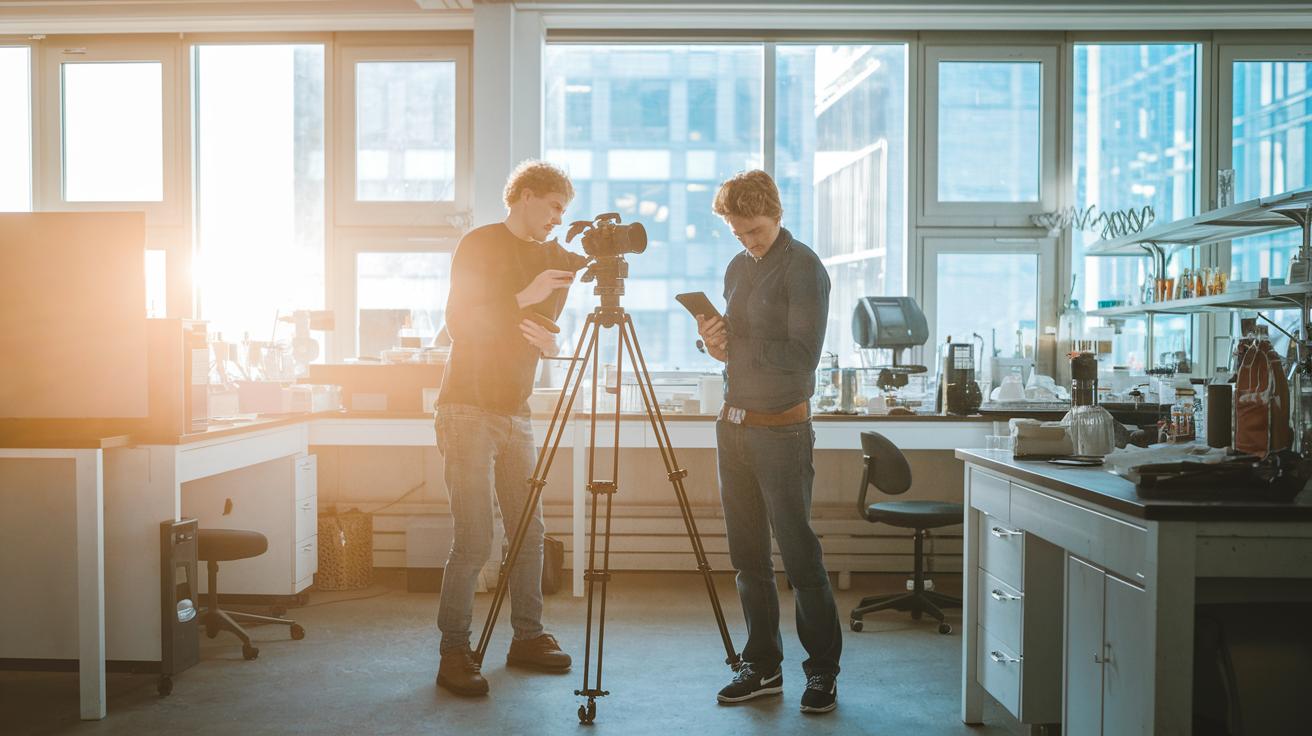
Begin by putting together a plan that mixes texture overlays, camera work, and lighting setups. This guide shares extra tips such as using HDR scanning in a Boston lab to enhance both clarity and authenticity.
-
Shoot your raw footage in high resolution using natural light.
For example, think about capturing soft, clear images that keep a gentle glow even in shadows. -
Tweak colors by dialing down saturation and shifting the white balance toward warm reds and oranges to give your work a nostalgic feel.
For example, work on a warm tint that makes your film feel like an old reel without losing detail. -
Add true-to-life textures by layering grain, dust, and scratches. This helps your video look like vintage film stock.
For example, put on textures that make small imperfections seem natural and part of the film’s character. -
Crop your shots to a 4:3 aspect ratio to instantly evoke the style of old television or classic film reels.
For example, carefully crop your footage to capture a retro vibe right away. -
Insert creative touches like light leaks and film burns to highlight key moments, but keep the overall look balanced.
For example, add gentle light leaks during cuts to blend modern detail with classic style. -
Send your reels for HDR scanning at a Boston cinelab. They check your work each week to reveal subtle tone and texture details. While this step shows hidden aspects that may need adjustments, it also requires careful fine-tuning to keep your retro look consistent.
For example, HDR scanning can uncover details that need regrading to hold on to that authentic film feel. -
Give your project a final inspection. Make sure color, texture, framing, and effects all come together smoothly for a polished vintage look.
For example, review every part of your piece to fix any issues before your final export.
Finally, adjust and test your work to keep the right balance between grading, texture overlays, and framing. Rerun sections after your HDR scan to address any tone changes. This way, your final export will hold the timeless grain and warm vintage hues that celebrate classic film techniques.
Final Words
In the action, we reviewed vintage cinematography techniques, from camera and lens choices to lighting setups and film grain effects. We walked through key retro reel methods, explained texture overlays, and detailed aspect ratios and transitions.
Each section offers a clear retro reels cinematography breakdown that helps you see how classic effects come together. The step-by-step guide gives you practical tips while keeping the look authentic. Enjoy exploring these timeless techniques and elevating your viewing experience.
FAQ
How can I apply a free vintage film or 8mm film effect in Premiere Pro?
The vintage film effect in Premiere Pro lets you mimic old-school video looks by using free presets, grain overlays, color desaturation, and light leak effects to create an authentic analog feel.
What are the 3 C’s and 5 C’s of cinematography?
The 3 C’s typically refer to camera, composition, and continuity, while the 5 C’s add cutting and close-ups, all guiding filmmakers in shaping visual storytelling effectively.
What does the 20–30 rule in film mean?
The 20–30 rule in film suggests keeping subjects within a 20-30 foot range to achieve a natural perspective and balanced focus, though its application may differ based on shot and scene requirements.
What makes a good cinematography reel?
A good cinematography reel showcases diverse camera work, clear composition, thoughtful lighting, and smooth editing, all emphasizing storytelling, technical skill, and a unique visual style.