

Ever wonder if vintage movies can still dazzle on modern screens? Skilled experts work frame by frame to remove grain and revive faded colors. High-end scanners and careful touch-ups save the delicate details that automatic systems overlook. This blog post explores how these specialists protect subtle light nuances while merging clear images with the old-school charm we all love. Join us as we dive into the techniques that breathe new life into aging reels, turning them into vibrant, modern masterpieces.
Evaluating Quality in Retro Film Restoration
Professional labs bring old films back to life with crystal clear images and true colors. They use high-end scanners like the FilmFabriek HDS+ system (a top-of-the-line tool that costs tens of thousands of euros) and work carefully on each frame. They tweak settings to cut down on grain and erase scratches that automatic machines often miss. For example, if a film is underexposed during scanning, it can still keep gentle light details, much like a soft sunset captured perfectly. This careful work reduces unwanted blemishes on aging film and makes every scene look sharp and lively.
In contrast, amateur setups that run on auto mode often miss small details like dust and light scratches. This can lead to unclear images, uneven colors, and shaky playback. Professional labs fix these problems one frame at a time and adjust the colors by hand. Their detailed process not only clears up excess grain but also smooths out motion, restoring films so they look true to their original charm while meeting today’s viewing standards.
Technical Breakdown of Retro Film Restoration Techniques
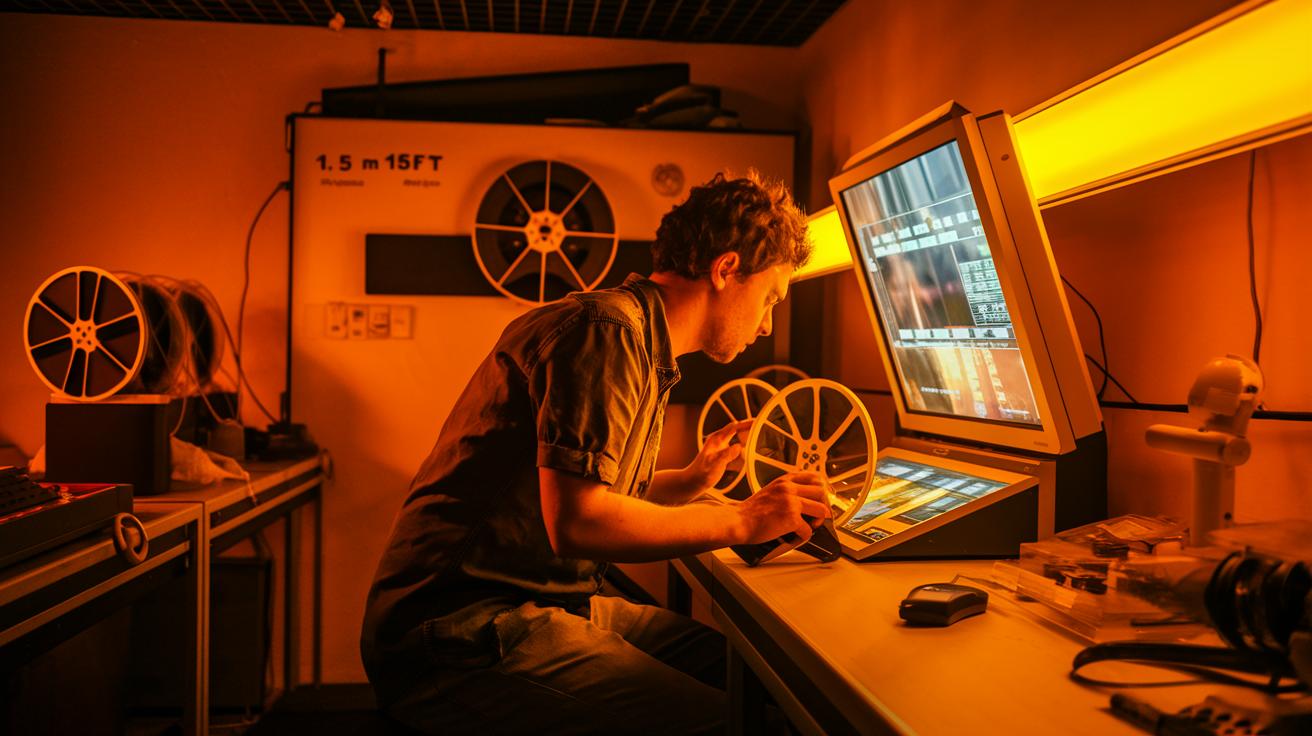
Retro film restoration begins with a careful cleaning process that removes most dust, though a few specks might still stick around. Next, the film reels, such as the 15 m (50 ft) spliced reels, lasting 3 min 20 s for Super 8 and 4 min for 8 mm, are rejoined. Even a small misalignment can disrupt the smooth flow of every frame.
After that, professionals scan each frame closely. This frame-by-frame scanning captures every detail so they can manually fix issues that automatic systems miss. They also underexpose the film (shoot with less brightness) to protect the bright details and cut down on unwanted artifacts, much like turning down the brightness on a scene to save its delicate textures.
Then, time base correction is used to keep the playback speed steady as the film ages. Each frame is resized by hand to remove unwanted parts such as sprocket holes, a task automatic tools often struggle with.
Following resizing, every frame receives color correction to bring back natural hues and balance. Grain reduction is key here too; using tools like DaVinci Studio alongside the Neat Video plug-in helps clean up the image by reducing both grain and scratches. Finally, image stabilization and adjusting the frames per second ensure the film moves with a smooth, steady pace.
These careful, hands-on steps show why a skilled touch and top-notch tools are essential for restoring retro films to a high-quality finish.
Before-and-After Insights in Retro Film Restoration
Old film reels often show flaws such as dust, scratches, faded colors, and shaky motion. Home scans capture these problems as uneven framing and off color shifts. Professional restoration, however, works frame by frame, fixing colors by hand, smoothing motion, and restoring a natural look that feels true to the original vision.
Skilled technicians remove spots and lines while reviving a muted palette into bright, true colors. Unsteady motion becomes smooth, and heavy noise is cut down to give the film a balanced texture. For instance, one blurry frame was restored to reveal a hidden background detail that changed its story completely. This approach delivers clear visuals and seamless movement without over-explaining technical details.
By combining careful manual work with modern digital tools, old reels are turned into digital masters that honor the film’s original mood.
Pros and Cons of Retro Film Restoration Methods

This section gives a quick look at the benefits and drawbacks of different restoration methods. It builds on earlier details and keeps things clear.
Professional restoration uses top-quality equipment and experts who work carefully. This method costs more and takes extra time, but it delivers amazing detail. New AI tools might soon speed things up without losing quality.
DIY options save money and work faster. However, they often miss the fine details that true experts catch.
| Method | Pros | Cons |
|---|---|---|
| Professional Labs | High-quality, meticulous work | Higher cost and slower processing |
| DIY Options | Budget-friendly, faster turnaround | Less precise detail correction |
Think of professional labs like a painter perfecting every brushstroke, while DIY fixes are more like a quick sketch that saves time but can miss fine details.
Comparing Retro Film Restoration Services
When you need to restore old film reels, there are three main types of services available. Professional labs offer frame-by-frame scanning, time base correction, and even magnetic tape restoration for formats like 8 mm, 16 mm, VHS, U-matic, and Betacam. They deliver outputs on DVD, Blu-ray, hard drives, USB drives, or cloud storage. These labs use very expensive, high-end equipment (often costing over €10,000) and full manual control to treat every frame like a precious work of art, preserving even the smallest grain or scratch.
Budget services sit squarely in the middle. Using gear that costs between €1,000 and €5,000, they offer partial manual control and cover the common formats you’d expect for vintage films. While these services are a good mix of quality and price, they sometimes miss the advanced grain and scratch reduction that pro labs achieve. It’s like a technician quickly dialing in settings on a machine that isn’t quite built for detail, the result works but isn’t flawless.
DIY setups rely on automatic scanning with only basic manual tweaks. With equipment costing under €1,000, these systems usually support only limited film sizes. While they save money, the output often lacks the precision needed for a true-to-life restoration, feeling more like a quick digital conversion than the in-depth care that old memories deserve.
| Service Type | Equipment Cost | Manual Settings | Formats Supported | Pricing Range |
|---|---|---|---|---|
| Professional Lab | €10,000+ | Full manual control | Wide analog formats | $100–$500 per reel |
| Budget Service | €1,000–€5,000 | Partial manual control | Common formats | $50–$150 per reel |
| DIY Setup | <€1,000 | Automatic only | Limited film sizes | $0–$50 per reel |
Expert and User Perspectives on Retro Film Restoration

Experts say that using manual calibration and high-end scanners is key to getting real colors and less grain. One specialist explained, "Handling each frame with care shows details that automatic systems miss." This extra attention helps each frame keep its original warmth and clarity.
Users care about clear timelines and quick, friendly support. Many even call directly at (206) 282-1776 for fast updates and clear answers. One customer said, "Seeing the before-and-after previews made me feel that my memories were cared for." Such feedback shows how important it is to offer clear side-by-side comparisons.
Experts also recommend careful steps like controlled underexposure and precise frame resizing, which help remove marks from old projector gear. These careful tweaks turn faded, grainy footage into bright, faithful digital copies that honor personal history.
By combining trusted manual techniques with caring customer service, every restoration becomes a project treated with true respect. The result is a digital master that keeps the film’s original look, preserving cherished moments for years to come.
Final Words
In the action, this article broke down how professional restoration labs and DIY options perform. It covered everything from image clarity and color accuracy to frame stability and scratch removal. The discussion showed clear before-and-after comparisons and weighed the pros and cons of each method. Expert insights and real user views gave a balanced take on restoration services. This retro film reel restoration review offers a clear guide to achieving quality music and video preservation. Enjoy watching restored classics with new zest and vibrant detail.
FAQ
What do retro film reel restoration reviews on YouTube and Reddit reveal?
These reviews reveal that audiences applaud expert manual settings, specialized scanners, and detailed before-and-after comparisons, which result in enhanced image clarity, color accuracy, and smooth playback in restored films.
What does the best retro film reel restoration review emphasize?
The best reviews emphasize precise manual control, advanced scanning methods, and clear before-and-after comparisons, which lead to vibrant colors, reduced grain, and a consistent digital master that honors the original film.
Are old movie film reels worth anything?
Old movie film reels are worth preserving due to their historical value and cultural importance, often turning neglected classics into cherished digital versions that serve both collectors and film lovers.
How much does it cost to restore a movie?
Restoration costs vary by service type, with professional labs charging around $100–$500 per reel, budget options around $50–$150, and DIY setups costing little to nothing but offering limited manual adjustments.
What is considered the most visually stunning movie ever?
The title of the most visually stunning movie ever is subjective, but films that use expert restoration techniques with rich detail and vibrant colors often earn praise for their breathtaking, polished visuals.
What company restores old movies?
Companies that restore old movies typically include professional labs equipped for frame-by-frame scanning and color correction, and they are often recommended on trusted film restoration websites and industry forums.


